Here is a math lesson that went so well that it would be a crime if no one replicated it. I’m sharing the details in hope that more students can benefit from the learning available.
The lesson was for fourth graders who had been taught points, lines, angles, and triangles.

My aim was to create a lesson that students could experience independently. I wanted them to follow my directions without me walking them through the steps. For this reason, I tried to be as explicit as possible when describing what to do. At the same time, I had to balance this with simplicity, so that it did not scare students from the project.
This was a math enrichment project. It was created to deepen the understanding of students who had proven proficient. The last thing I wanted was for this to be extra work. I had hoped it would be challenging and fun. It was.
Although I’d hoped students would be able to follow the steps independently, most needed some guidance; at least in the beginning. Below, is an example of what I did when helping students successfully complete this math enrichment project.
One way that you could adapt the lesson would be to provide the first two lines; Pre-drawn for students. I didn’t. I just dropped off the instructions and told students to use a blank sheet of paper. In addition to blank paper, students will need protractors and rulers with centimeters on them.

Introduction
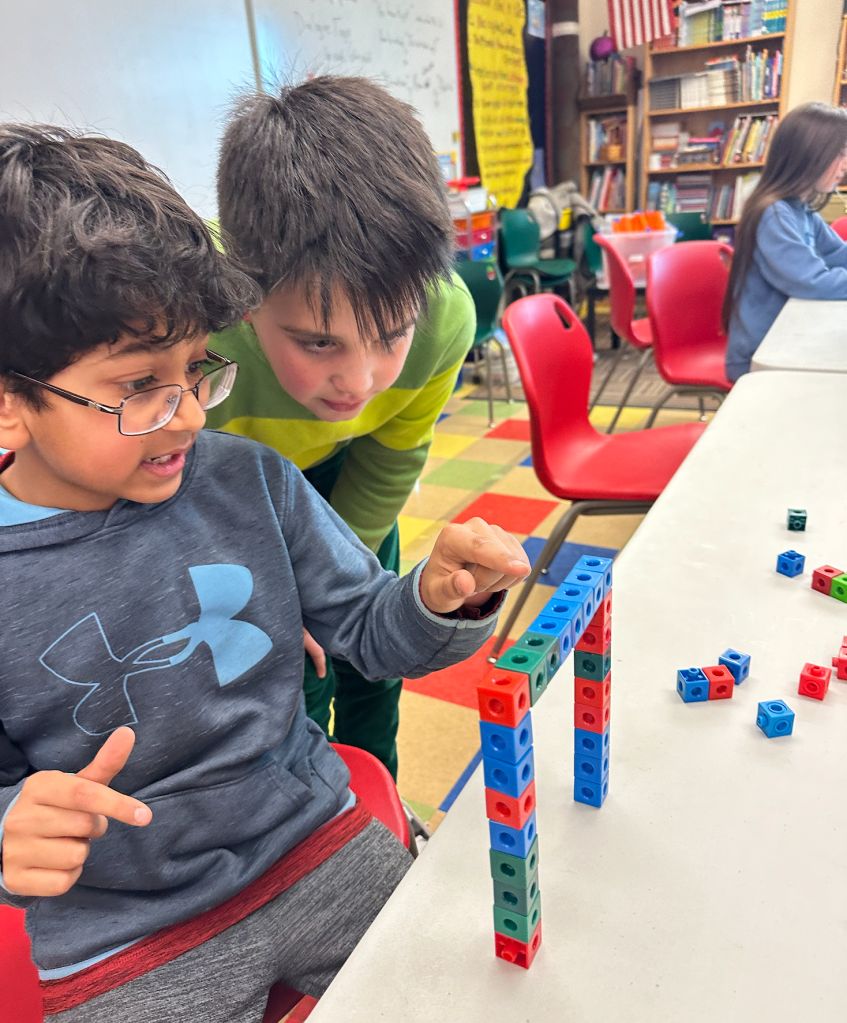
After a student read the introduction to the assignment, I paused the project to discuss what a “Stunning Gem” might be. I explained to the students that raw gem stones are found underground, and when they are discovered, they look like sea glass; dull. They were all stunned. I told them that it wasn’t until after a specialist; a jeweler; cut the rare stones and polished their sides that they shone beautifully.
“The angles have to be made just right, with straight sides, so that light can bounce off of the translucent walls of the gem like a prism.” This set the stage for measuring accurately and drawing straight lines on their papers.
Getting Started
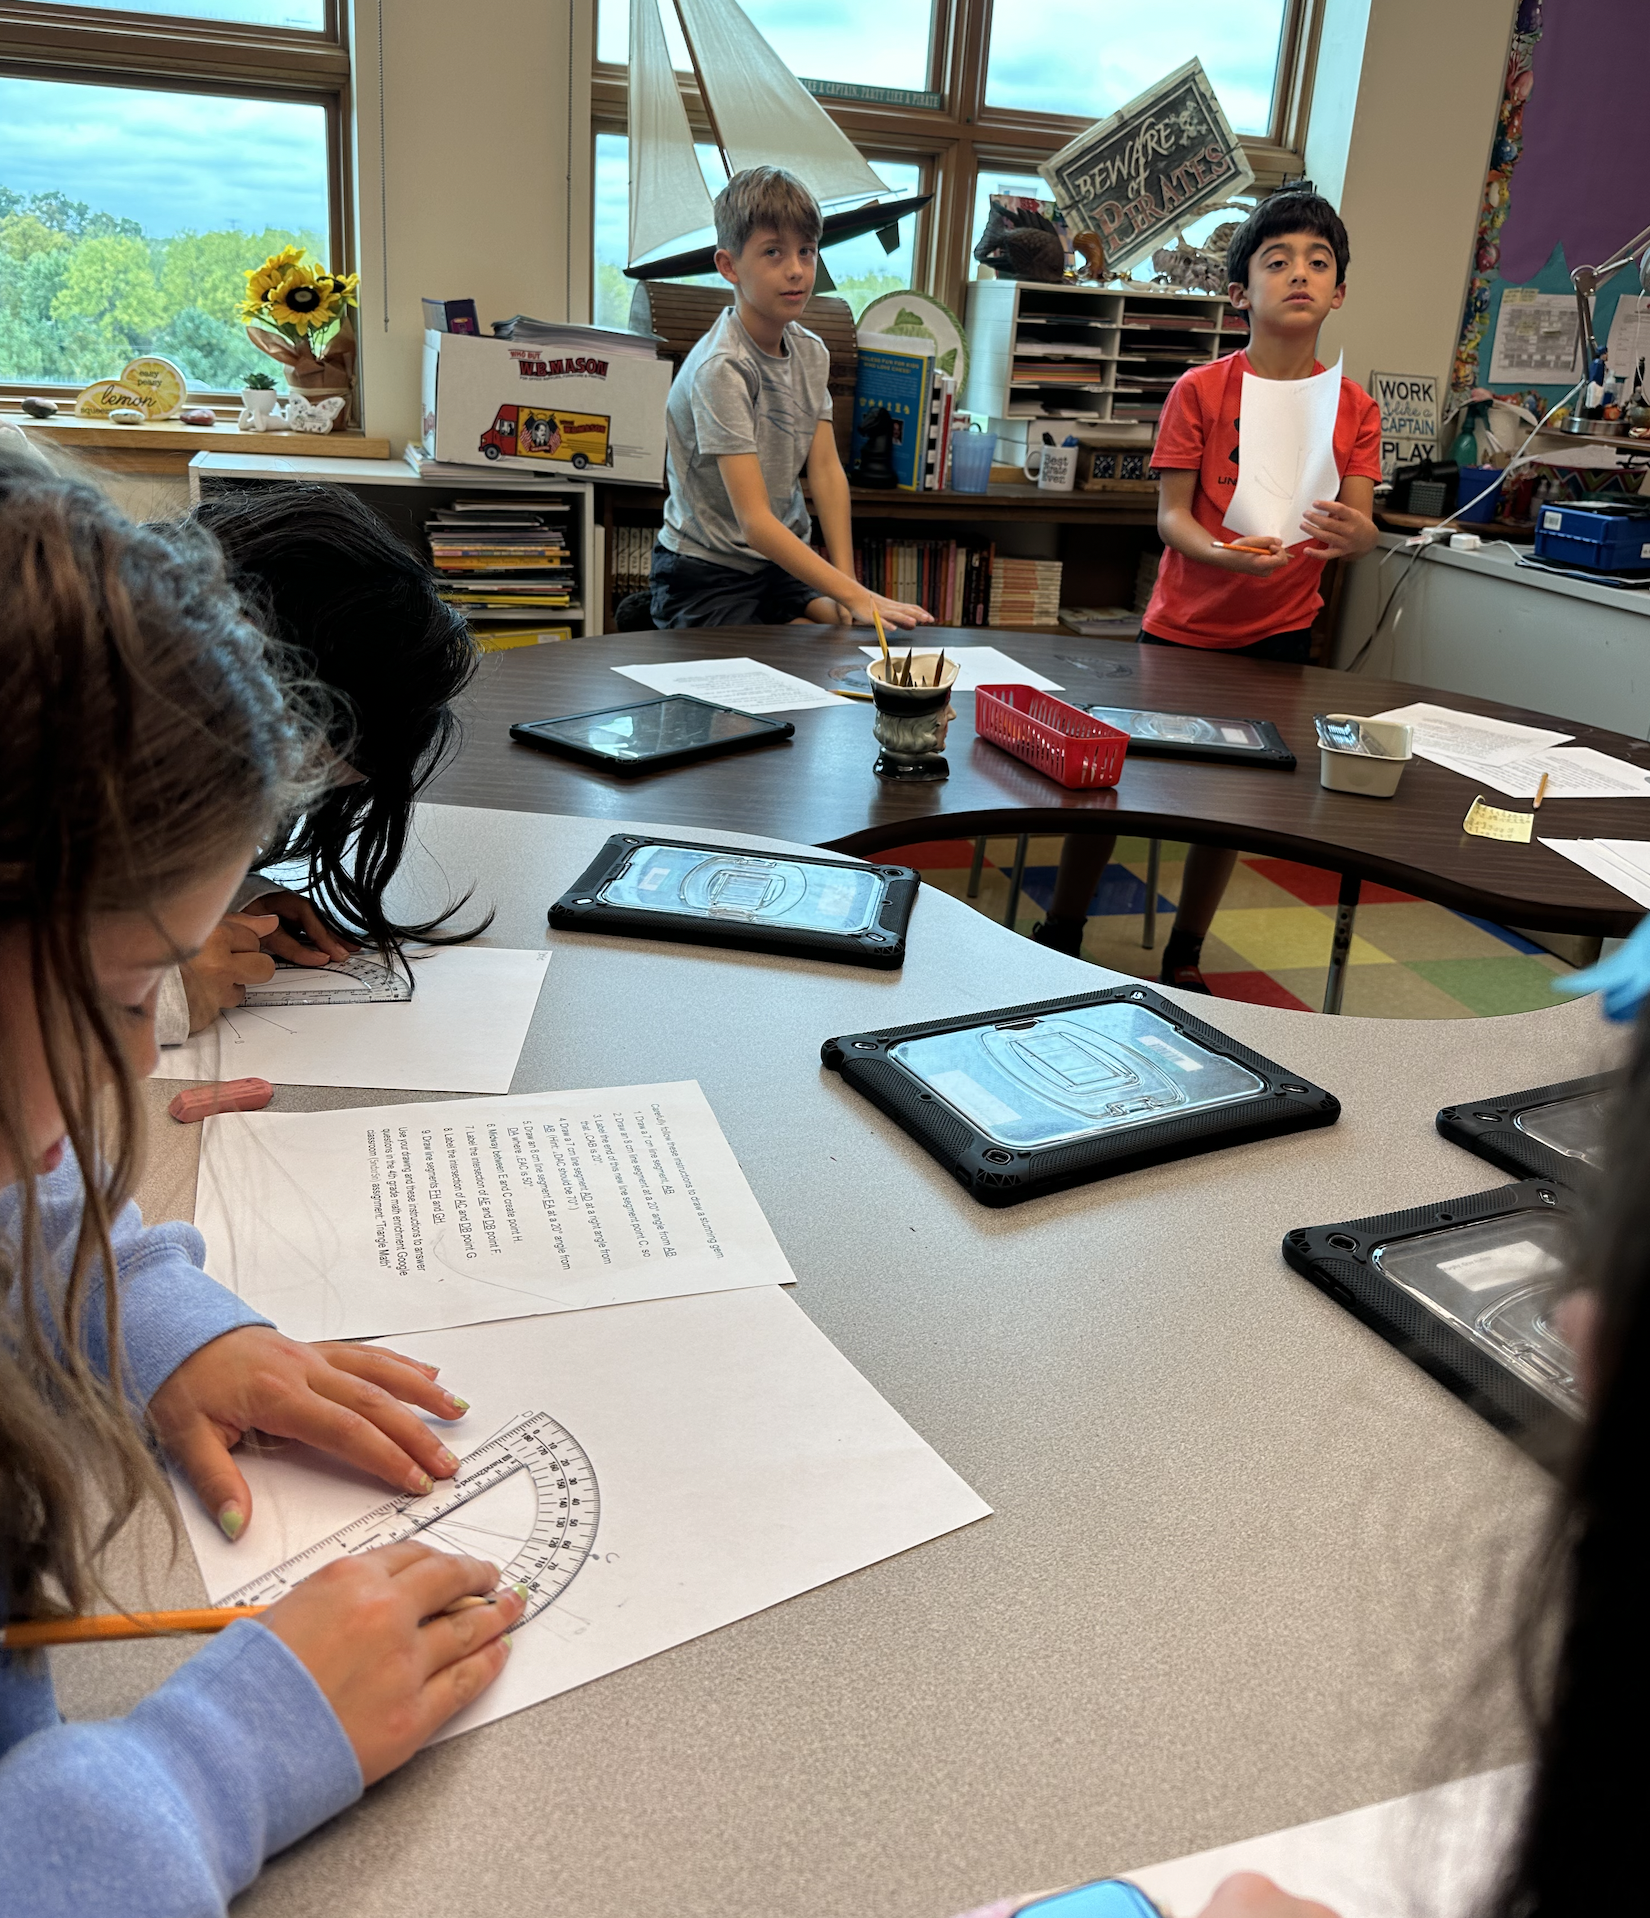
Each student had a blank piece of paper, a pencil, and a medium sized protractor that had a centimeters ruler in the center of it, along with his/her own set of the instructions. I had a different student read each step out loud. We went step by step, with me modeling the work.
At the very beginning I showed students how to draw the first line. I had them make a dot about one third of the way up from the bottom of their paper, right in the center. “Label that point A,” I told them. “Use your ruler to draw your 7cm line like this.” I drew my first line diagonally, at about a 45 degree angle toward the right side of the paper.
The paper with the instructions on it does not specify any of this. I didn’t want to type so many steps that students were completely turned off. I figured they could just figure out what worked best. Make mistakes; fix them; “#ProductiveStruggle” is what I’ve been telling everyone this year. “It’s good for you! Builds character.”
After the first line is drawn, we label the end opposite point A, “B.” Next, we are instructed to “Draw an eight centimeter line twenty degrees from line segment AB.” Here, I show them that they ought to draw this new line closer to the center of the paper. I also tell students to draw their lines lightly. “Don’t press down too hard. You will most likely have to do some erasing. If you make dark, heavy lines, your gem will be less stunning with a bunch of erasures all over it.”
I won’t go through every line of instruction here. You can see what happens when you read the steps. Suffice to say, there is a lot of protractor practice and line-drawing-procission involved. You definitely want students to help one another and be open to mistakes. Luckily, these are not actual diamonds.
Finished Product
It takes several minutes to complete the drawing, but it’s worth it. There are plenty of “Oooohs” and “Aaaaahs” when the final lines are drawn.
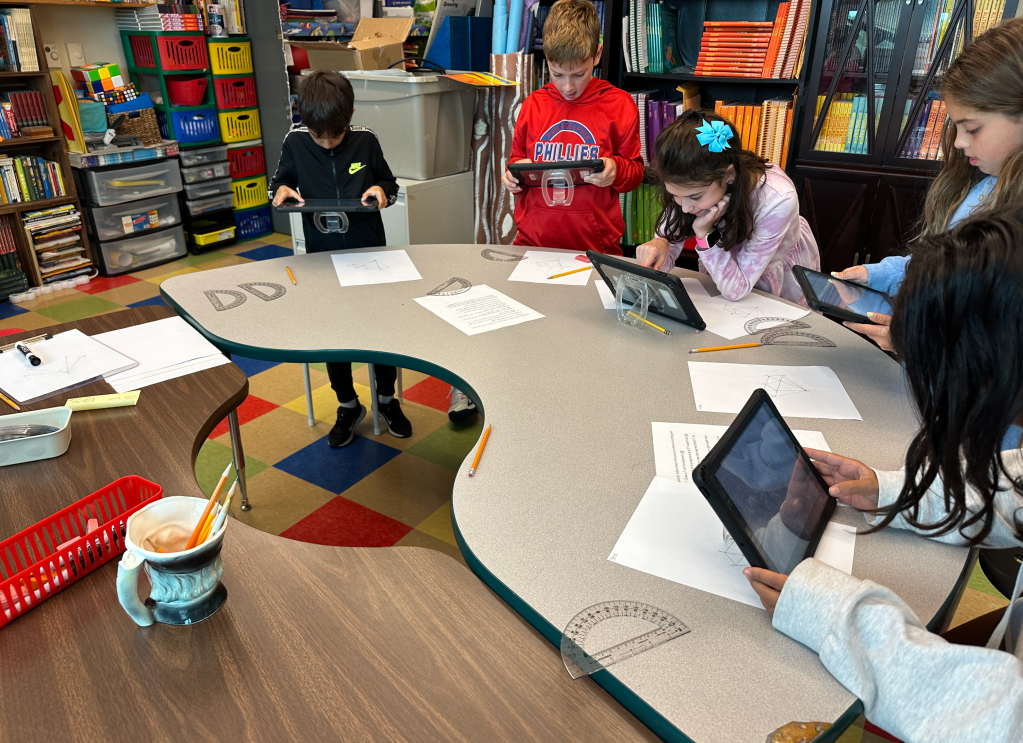
My favorite part of this project is that the drawing is a tool for answering some geometric questions and even playing a game. Ahead of time, I typed the questions into a Google form, along with multiple-choice answers, so that the form will provide a score immediately upon completion. At the bottom of students’ “Stunning Gem” instruction paper is a code for the Google classroom where the assignment can be found. This was the first project of the year, so students had yet to access this new classroom.
There were two assignments in the new Math Enrichment Google classroom. The first contained a Google doc with the same instructions students had just used to draw their stunning gem. This assignment asked students to take a photo of their drawing so that I could see how well they did. The Google doc was available for them to make another one, or in case they lost their original set of instructions while still making the gem drawing independently.
The second assignment had the Google form in it. This form asks questions like “Which triangle is an isoceles triangle?” And, “Which triangle is scalene?” In addition to these identification questions, I made the drawing a game in the last few questions by asking students to look for the total number of triangles that can be formed with the lines.
Finally, I set up the Google form so that students can see their peers’ answers and edit their own, once they have submitted their work. This is math enrichment, and my aim is to enrich; Not assess. They loved getting perfect scores… Albeit, eventually;)
Origin of Lesson
The idea of having fourth graders who were learning about lines, angles, and two dimensional shapes draw pictures of diamonds came from a lesson I did with third graders. They were writing diamonte poems, and I taught them how to draw a diamond to accompany their poetry.
I took this concept of drawing a diamond, and tried writing instructions for sharing the steps with out an illustration. The product of pupils producing stunning gems from nothing but words was even more rewarding than I had expected. They were genuinely wowed by what they made. It felt like they had created something spectacular from nothing but lines and angles!
Lessons Learned
First of all, a confession: I forgot to include a couple of steps in my first attempt at this lesson! A whole group of students was completely mystified, if not aggravated by the project when a substitute teacher tried to lead them through the drawing exercise without me. When I saw what they did and spoke with them, I figured out what was missing. There are lines that must connect the points on the top of the gem that I never mentioned. I fixed the instructions and pushed out the additional steps in an announcement via the Google classroom stream.

Additionally, this is not a “Whole-class-project.” This is designed to enrich the math understanding of students who are already good at using a protractor and ruler. When there are too many students to check between steps, others get bored, misbehave, go ahead, mess up their drawings, and the lesson is less successful.
Give yourself and your students plenty of time. This will take a good 45 minutes to do. You can have them come back to it, but it’s best to wrap up all of the drawing at once. Also, have them take the photo and put it in the Google classroom assignment while in your presence. They rarely do this on their own.