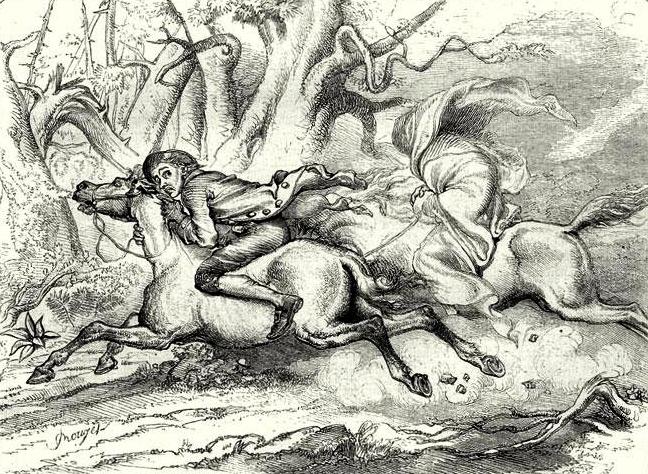
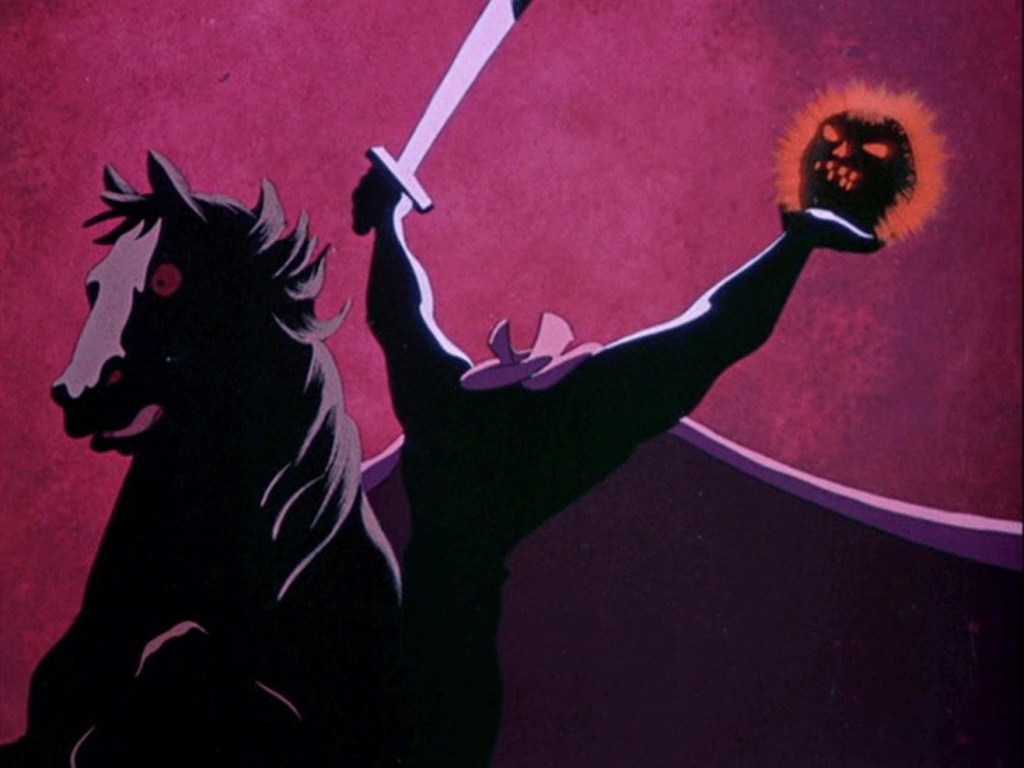
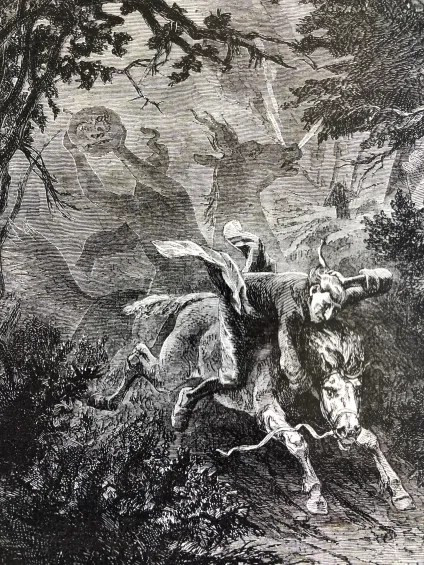
When you think of early Americana, what comes to mind? Apple pies, jazz, rock and roll, the Model T, Thanksgiving, 4th of July and the list goes on. How about ghost stories? Both iconic and popular, The Legend of Sleepy Hollow is easily the most recognizable historical haunt of Americana.
I’ve used the two-century old novella in gifted and language arts-enrichment lessons for years. I liked the frighteningly robust vocabulary, easily digestible plot, well-developed characters, and more than surface-deep psychology woven throughout. It paints an interesting picture of historical, colonial America. I especially like all of the inferencing necessary to interpret the text. It has proven to be a very valuable teaching tool.
Over the years there has been something that has haunted me even more than Sleepy Hollow’s headless horseman, however. As much as I love the way the author brings the goofy, lovable protagonist Ichabod Crane to life, the way Washington Irving objectifies the leading lady leaves something to be desired to say the least.
I never explored the idea with my classes because they are young. It’s bad enough that the plot toes the line of romance! Normally, I just gloss over the gross inequality, both of character development and the overt chauvinism on display. This year, however, I presented the novel in a different way. Rather than hide its faults, I told my 5th graders that I would share with them a few reasons that I thought the book was dangerous. That got their attention!
We had just read and discussed Alan Gratz’s Ban this Book. Should The Legend of Sleepy Hollow be banned? With this in mind, we began to dig into the original text to find support for both sides of the argument.
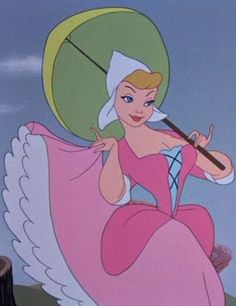
What I referred to as the “Leading Lady” of the story is Katrina Van Tassel. This is an eighteen year old girl who takes singing lessons from the protagonist, Ichabod Crane. As it turns out, the music teacher is keen on marrying Katrina. The crisis of the story is that another guy also has his aim on this same goal.
So far, this might not sound too bad: Classic love triangle stuff. The problem is that Katrina is reduced to an object, quite literally. She is treated no more special than the key or combination that unlocks the treasure of the Van Tassel farm.
Katrina is initially introduced as “the only child of a substantial Dutch farmer,” hinting that her inheritance would be impressive. Then, Irving describes Katrina’s looks analogous to foods; “Plump as a partridge… ripe and rosy-cheeked as one of her father’s peaches…”. After this, the author devotes five whole pages to exploring the farm that Katrina lives on, without a mention of the eighteen-year-old who would inherit it upon her father’s death.
There is no question that Ichabod is driven by greed more than love. It is his desire for Van Tassel’s wealth that spurs on his interest in the daughter.
“As the enraptured Ichabod fancied all this, and as he rolled his great green eyes over the fat meadow lands, the rich fields of wheat, of rye, of buckwheat, and Indian corn, and the orchards burthened with ruddy fruit, which surrounded the warm tenement of Van Tassel, his heart yearned after the damsel who was to inherit these domains, and his imagination expanded with the idea, how they might readily turned into cash …”
In addition to the unbridled objectification of Katrina, her actions are presented in a passive voice, suggesting that she is less important than the men of the tail. She doesn’t study music as much as she is a student of Ichabod’s. Instead of Irving suggesting that Katrina actually attracted the attention of Ichabod’s rival, the author pens, “The rantipole hero (Brom Bones) had for some time singled out the blooming Katrina for the object of his uncouth gallantries…” not feigning a hint of action on the lass’s part.
The extent to which Katrina does anything beyond simply being a female human comes from her status as “a little of a coquette.” There is no evidence to support this outside of the…
“(perception) even in her dress, which was a mixture of ancient and modern fashions, as most suited to set off her charms. She wore the ornaments of pure yellow gold, which her great-great-grandmother had brought over from Saardam; the tempting stomacher of the olden time; and withal a provokingly short petticoat, to display the prettiest foot and ankle in the country round.”
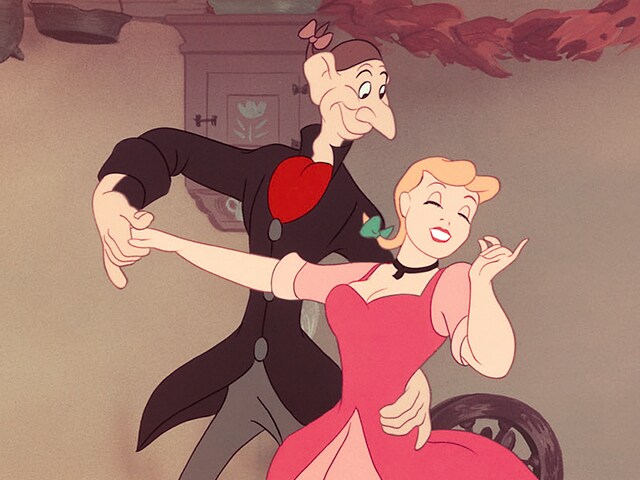
The reader catches a hint of coquetry during the Van Tassel party, near the climax of the tale. “The lady of his heart…” (Notice the continued objectification of Katrina.) “…was his partner in the dance, and smiling graciously in reply to all his amorous oglings; while Brom Bones, sorely smitten with love and jealousy, sat brooding by himself in one corner.” It is thought by some that Crane was used by Katrina to move Brom to jealousy, deepening her talons into his heart, and spurring him into action. He marries her the moment Ichabod is gone for good. After Ichabod receives his rejection at the tail end of the party, the narrator asks, “Was her encouragement of the poor pedagogue all a mere sham to secure her conquest of his rival?”
Lastly, Katrina is the target of Irving’s evident ire toward women in general. Before her introduction, the narrator of the story frames her entrance with ghosts, goblins, terrors, and frights as pithy ponderings compared to the greatest cause of male problems: Women. This is a two hundred year old story, so there is bound to be unpopularly dated stereotyping, but Irving introduces extra bias toward women by comparing them to guinea fowl “fretting about, like ill-tempered housewives, with their peevish discontented cry.” And, a couple of paragraphs later, we find Mr. Van Tassel’s “notable little wife, too, had enough to do to attend to her house-keeping and manage the poultry; for, as she sagely observed, ducks and geese are foolish things…” This comes immediately after the father, characterized as “an easy indulgent soul” is said to “love(d) his daughter better even than his pipe.” Wow! What a dad! Finally, it is perfectly acceptable that this admirable dad sat around smoking, “Thus while the busy dame (his wife) bustled about the house, or plied her spinning wheel at one end of the piazza,” among other things.
If all of that wasn’t enough, when our funny hero Ichabod Crane is rejected by Katrina, Washington Irving seems to blame the entire female gender. The narrator cries out to the reader,
“What passed at this interview I will not pretend to say, for in fact I do not know. Something, however, I fear me, must have gone wrong, for he certainly sallied forth, after no very great interval, with an air quite desolate and chopfallen –Oh these women! these women!”
In conclusion, while Washington Irving professes “not to know how women’s hearts are wooed and won” through the words of the narrator of his tail, he treats those hearts like prizes that are obtained, rather than organs of living beings. His text, The Legend of Sleepy Hollow, has many wonderful qualities that have enriched its readers for centuries. I hope that it is read, treasured, and studied for many more. On the other hand, beware of the spectre of chauvinism haunting its pages, lest you be tempted to follow Irving’s ghost down the road of inequality and maltreatment.