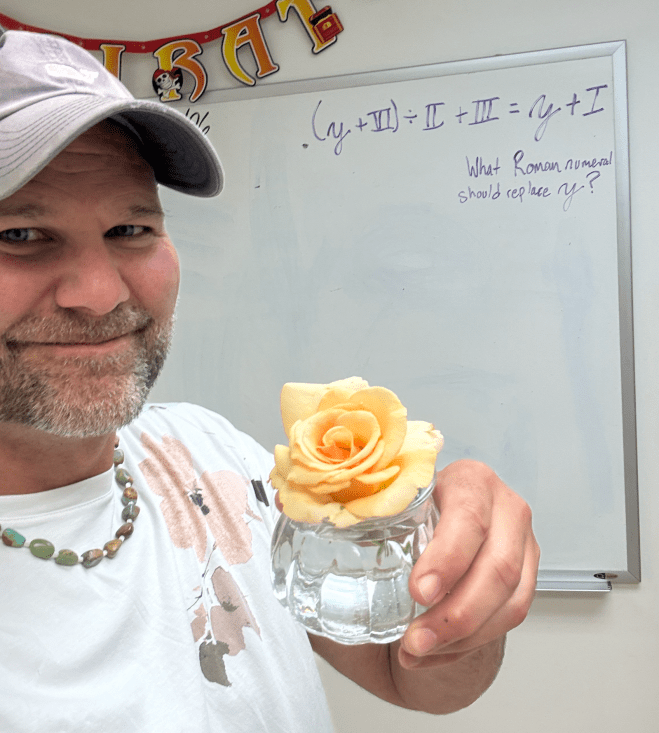
It’s the beginning of the year, and I like to hit the ground running. I wanted something that would be interesting as well as challenging. I introduced my students to the Fibonacci sequence. I teach gifted elementary students, so they thrive on figuring things out for themselves. All I had to do was start writing the numbers on the board, and they were instantly identifying relationships.
In case you forgot or didn’t know, the Fibonacci sequence is a list of seemingly random numbers (0, 1, 1, 2, 3, 5, 8, 13, 21…) that gets increasingly larger and larger. There is rhyme and reason to the list once you know what the numbers mean. Figuring out how to use them is empowering.
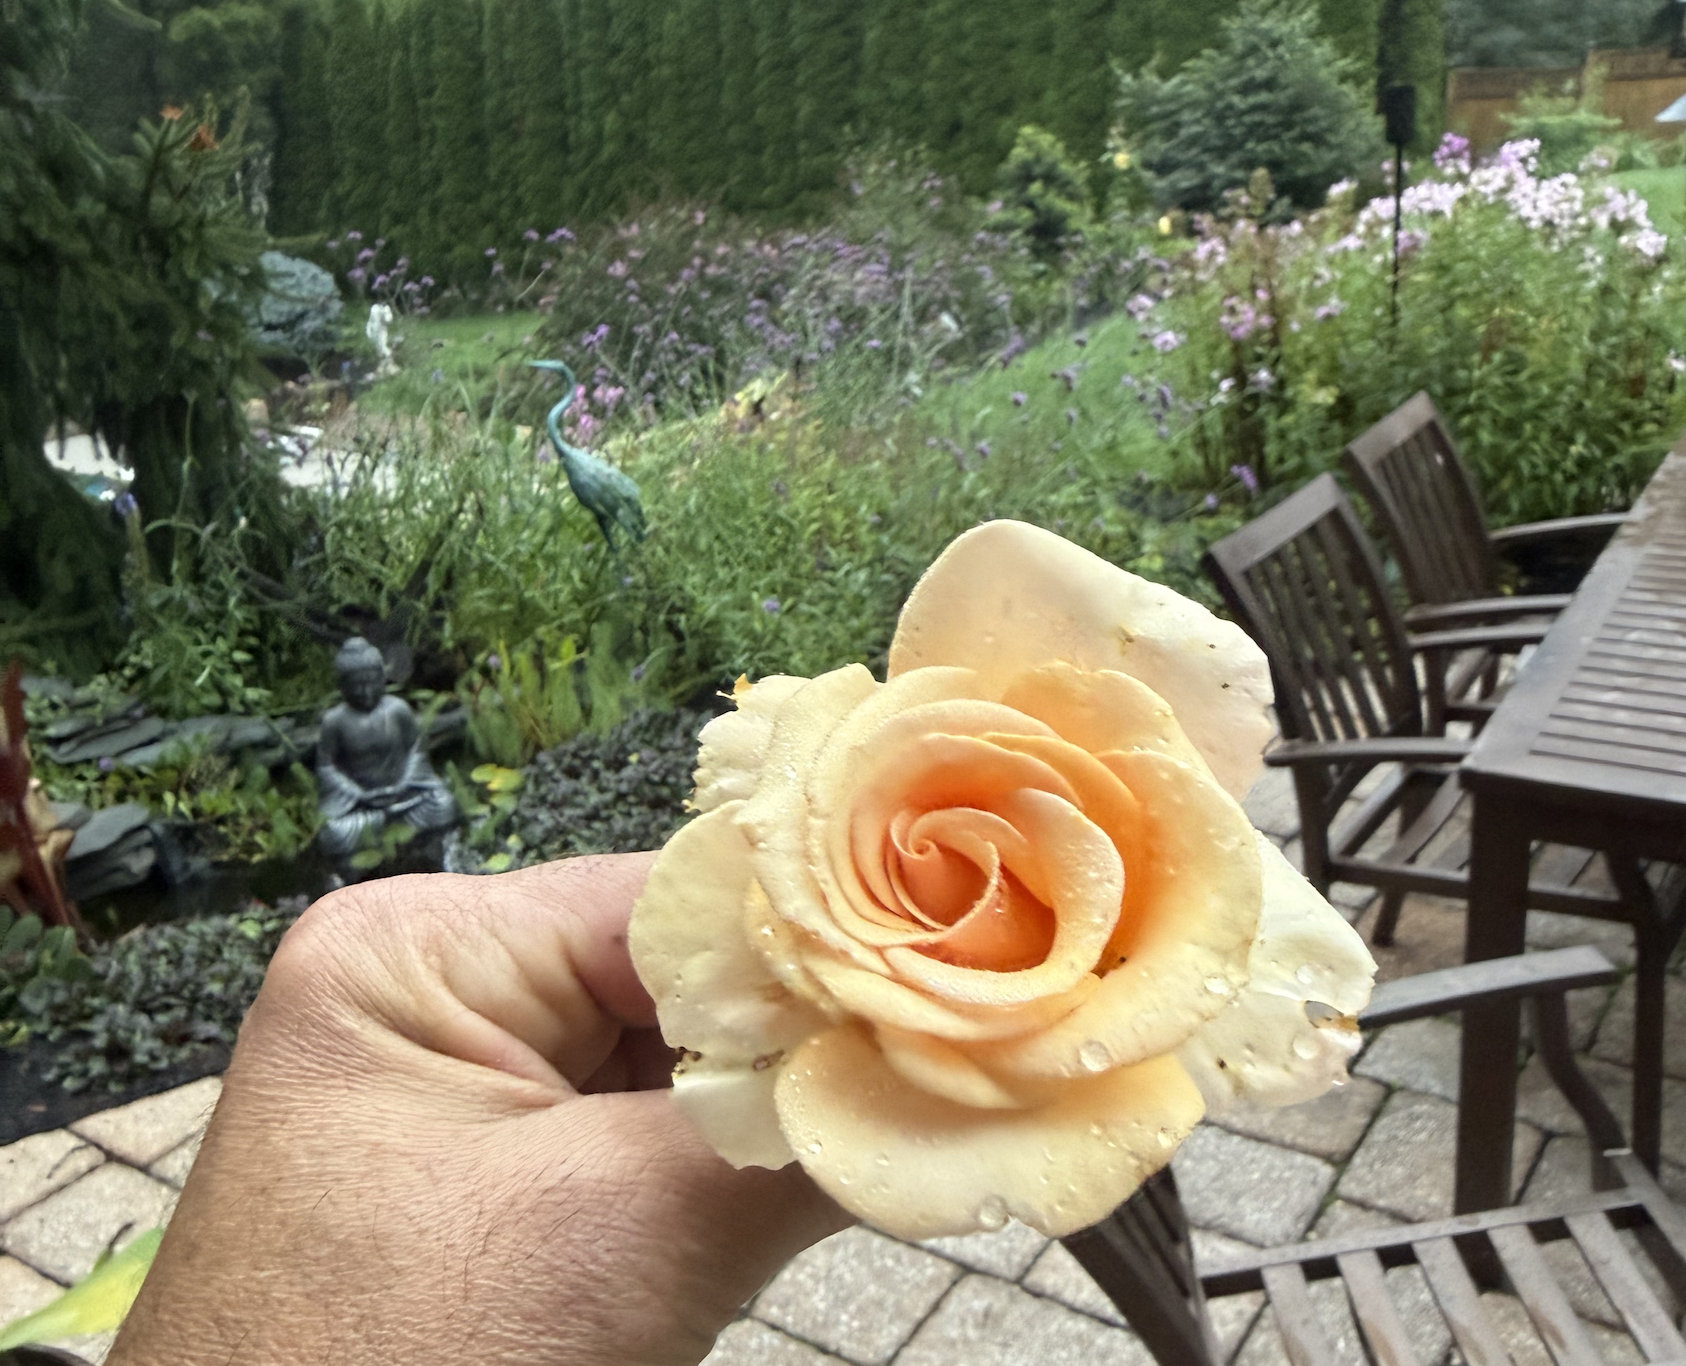
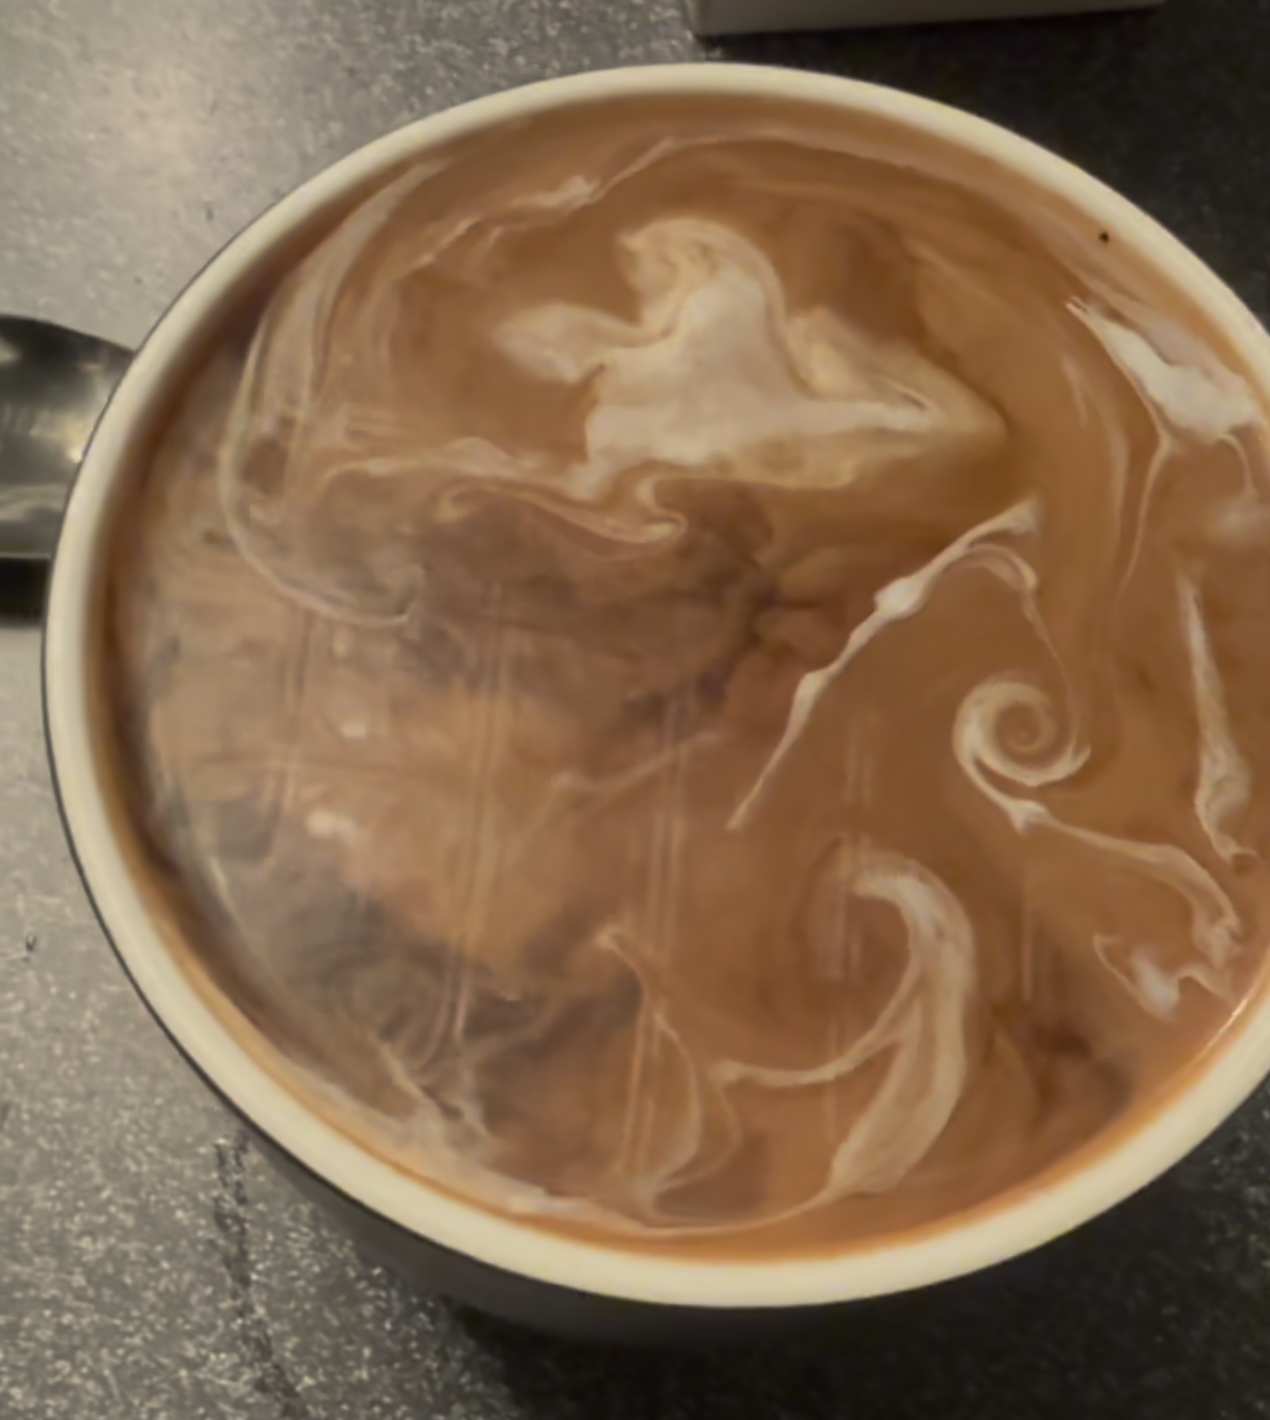
A tightly wound rose
The cream swirling in coffee
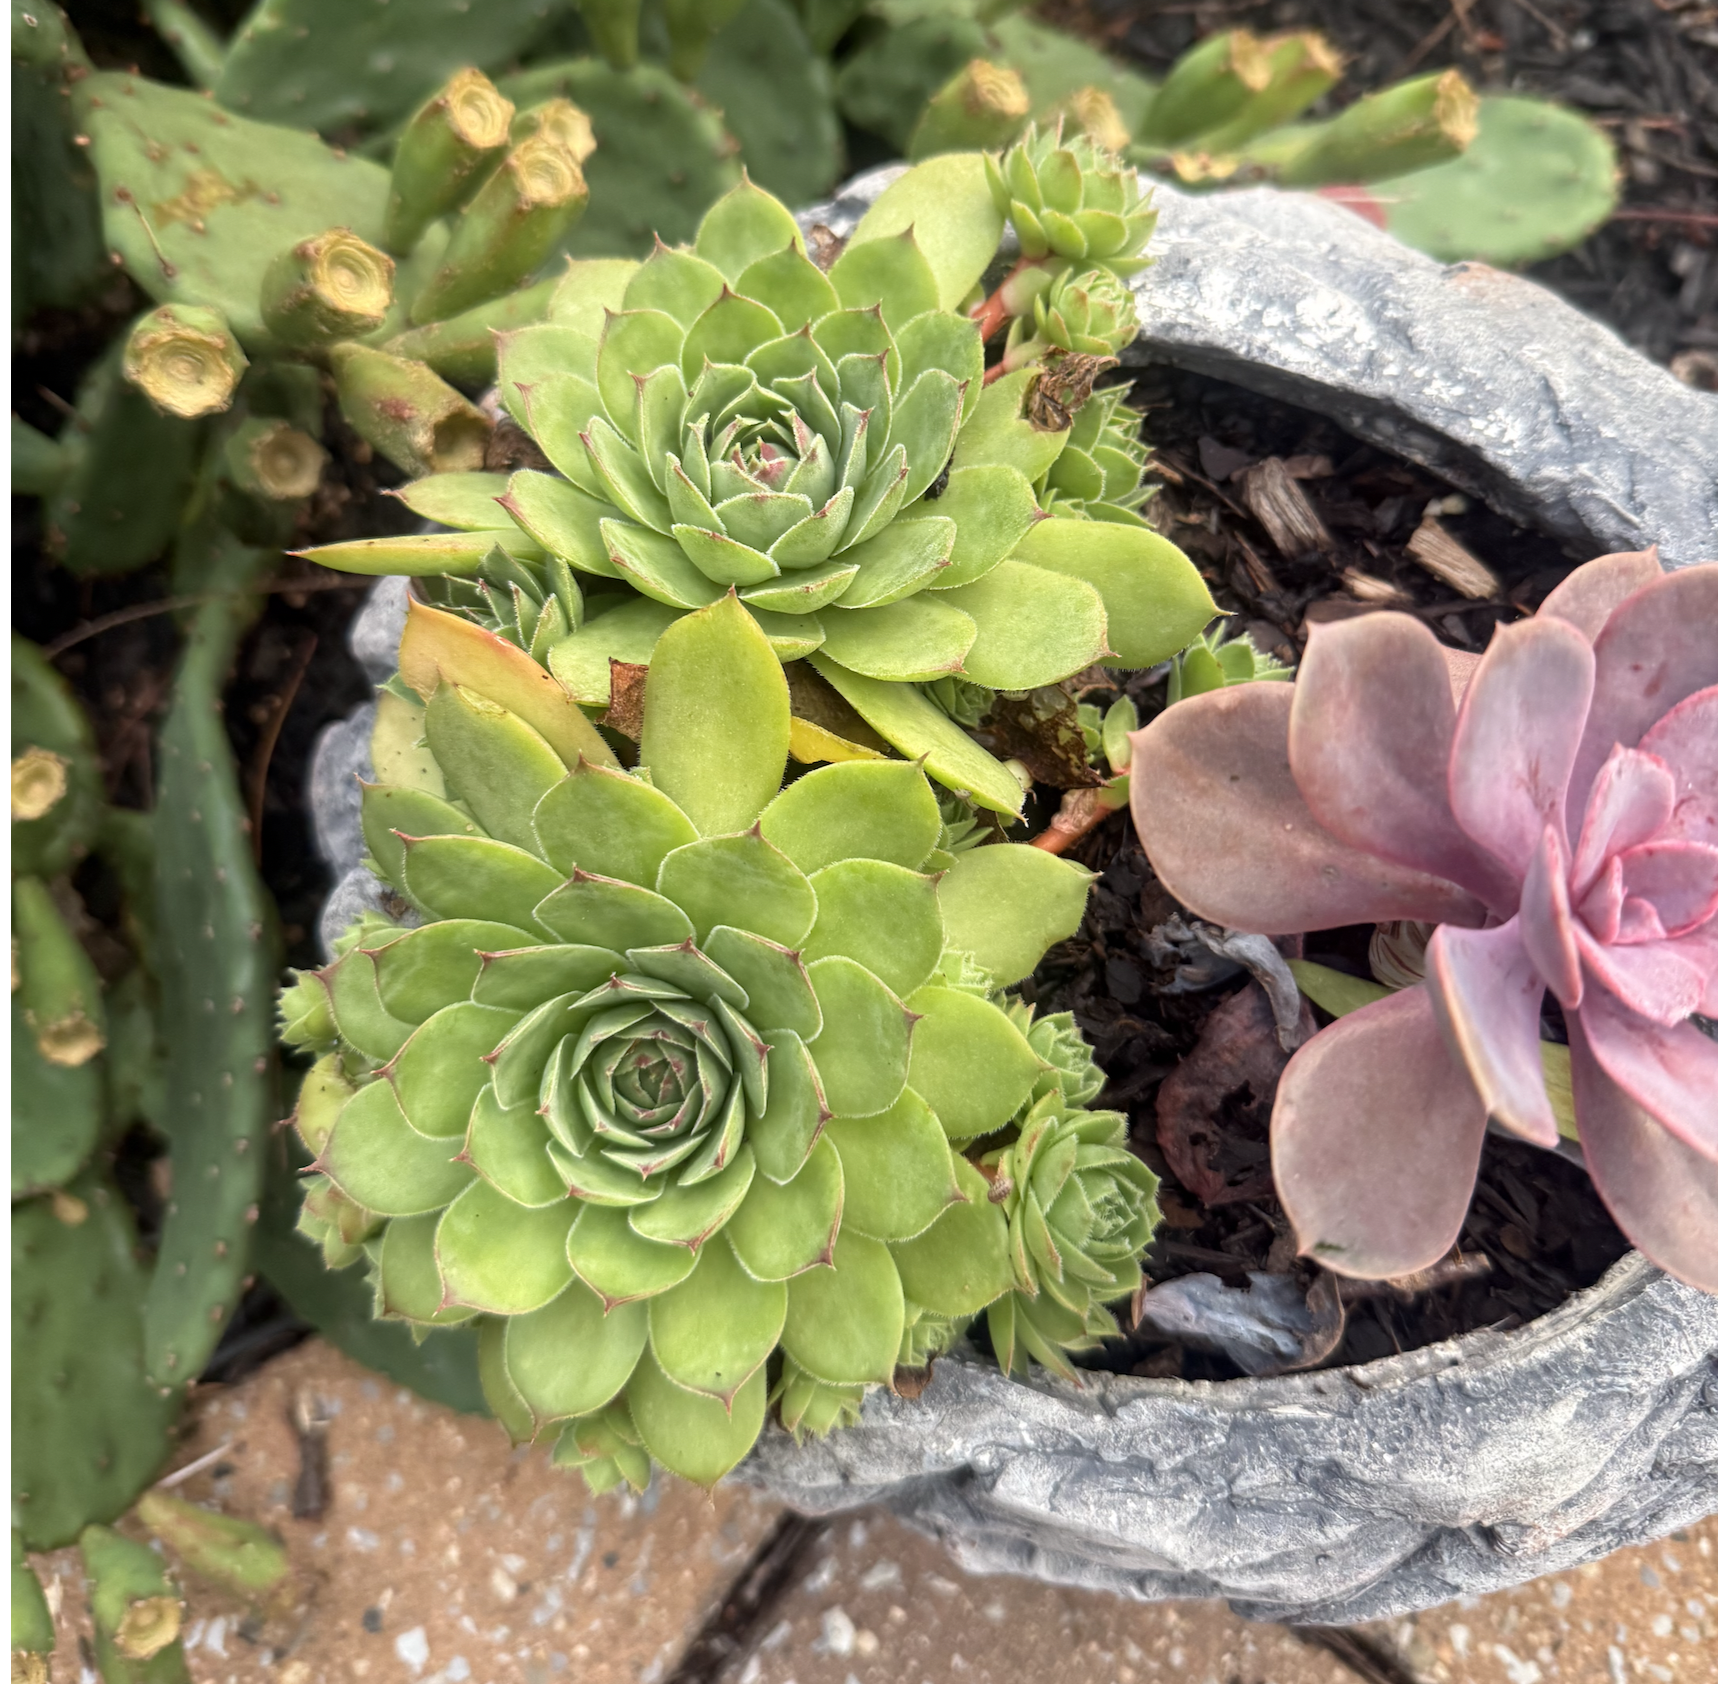
Backyard succulents
The Fibonacci sequence explains the dimensions of the curve or spiral that you see everywhere in nature. From the little frond of fern uncurling in the spring to the shell of the snail slithering out of the ocean with its Fibonacci waves. Even hurricanes and galaxies far far away model this same exact pattern!
The easiest way to understand how the numbers manipulate the curve is to create boxes. I had my students use graph paper to map out the sequence. There are tons of videos and tutorials online sharing how to draw the boxes and make the curve.
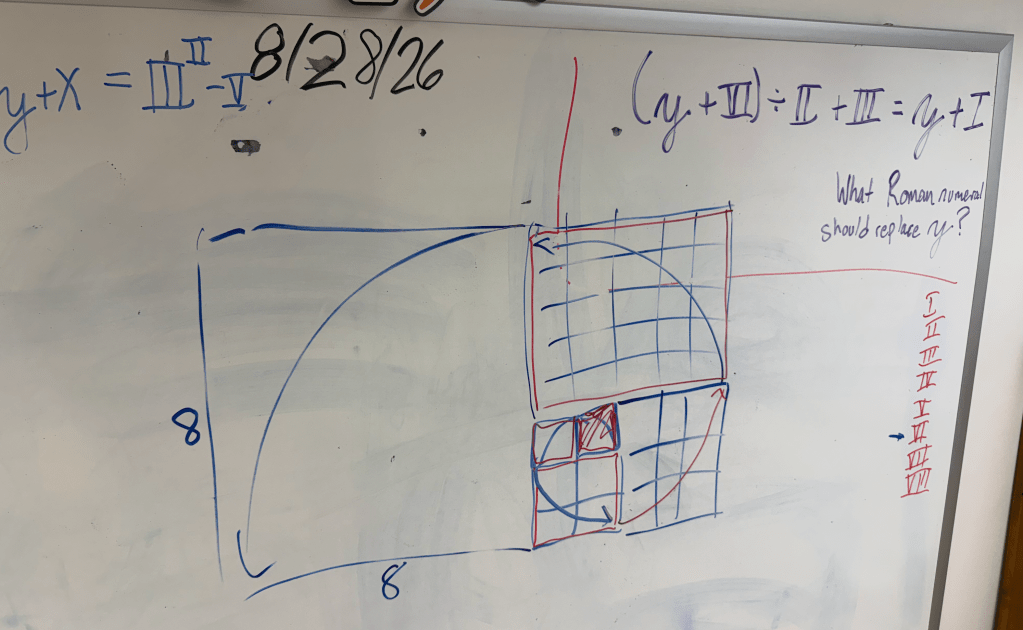
One thing that I did differently with my gifted students was I didn’t tell them where on the paper to begin drawing. I modeled how to use the squares on the graph paper by drawing my own boxes on the dry erase board on the wall. Then I told them to give it a try. Begin wherever you like, but draw lightly. Why lightly? “Because you will would most likely need to do some erasing.”
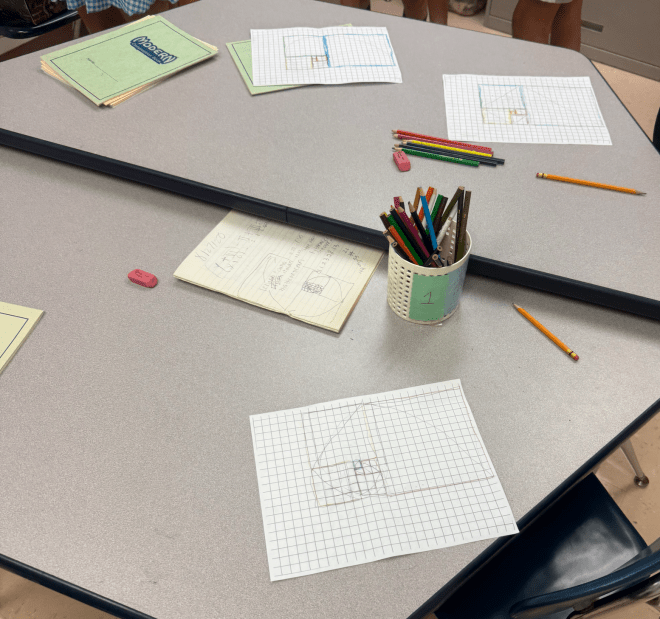
They had to work on figuring out the best place to begin their Fibonacci sequence in order to get as many boxes in as possible. If they were able to make the 1X1, 1X1, 2X2, 3X3, 5X5, and 8X8, but ran out of room for the 13X13, they could figure out how many squares they still needed, and shift their whole drawing over that many squares. Sometimes, they had to rotate the whole drawing.
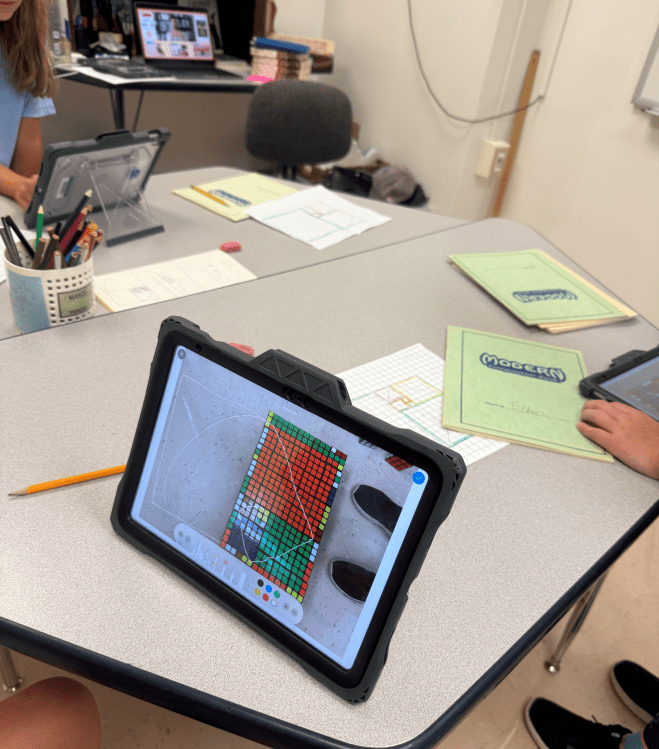
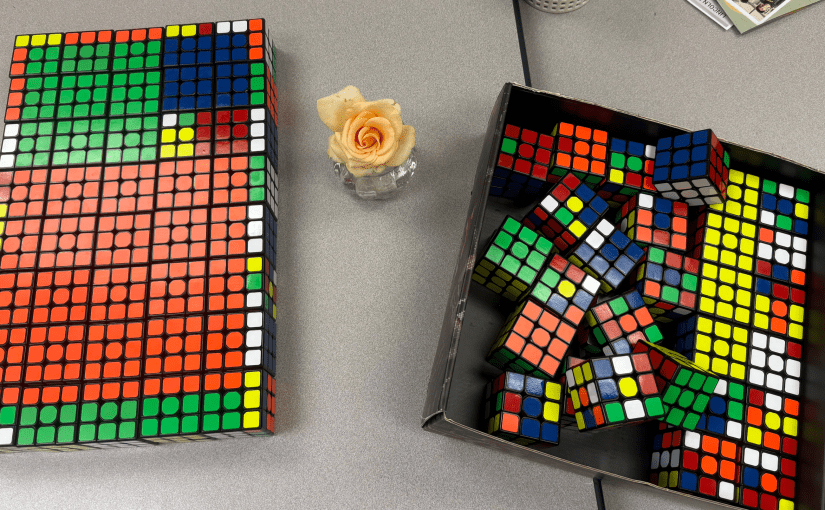
Once they had a model showing the first seven Fibonacci numbers, I had them use colored pencils to outline the final boxes. Then we worked on making a model with Rubik’s cubes.
We started out making the model the same way we did on paper; with a 1X1 box next to another 1X1 box. Each of these were just one square from a side of a Rubik’s cube. We then made a 2X2 box of four squares. We kept making larger and larger boxes, using Fibonacci numbers. Eventually, we ran out of time. We were also running low on cubes. I had them use their iPads to take a photo of our creation, so that they could draw the curved spiral through the boxes.
Here is our next problem:
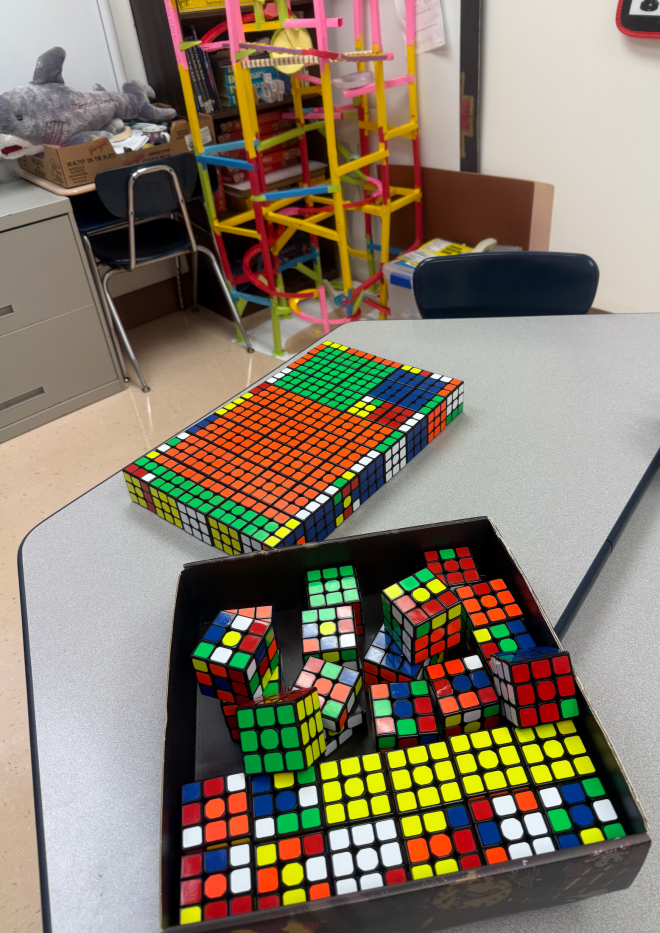
Can we make the next size box with the cubes we have left? It would be 21X21. If not, how many more cubes would we need?
There is a wasted line of squares all the way around our model. What if, like some of us had to do on our graph papers, we shifted our model over to one side, so that we could utilize those extra squares. We still have 28 more unused cubes. Is that enough, or do we need more. And, if so, how many?

